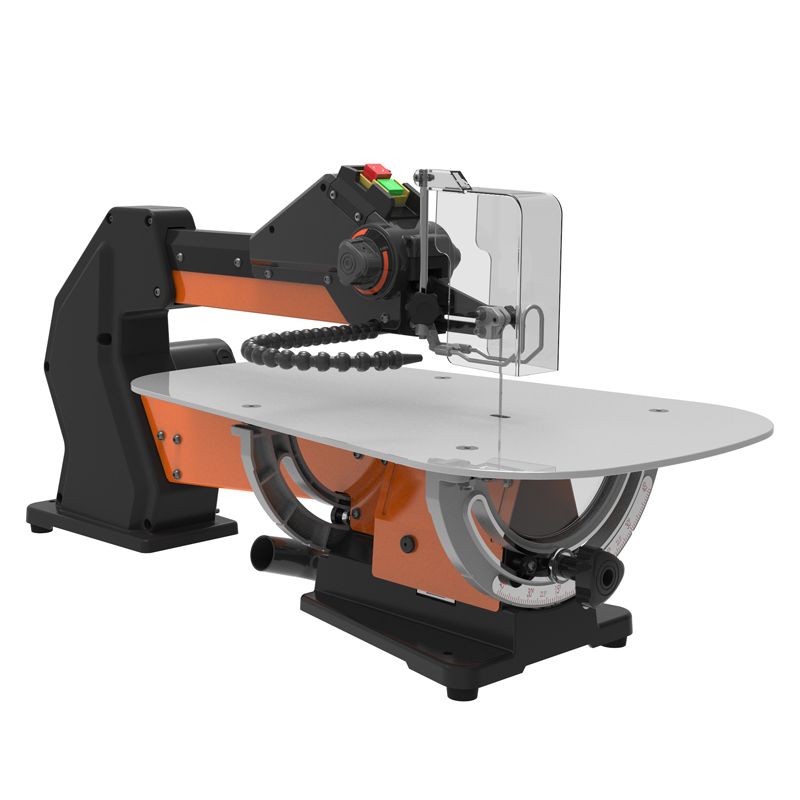
Fasi di preparazione prima della sostituzioneSega a traforoLama
Passaggio 1: spegnere la macchina
Spegnere ilseghetto alternativoe scollegarlo dalla presa di corrente. Con la macchina spenta eviterai incidenti durante il lavoro.
Fase 2: rimuovere il supporto della lama
Individuare il supporto della lama e identificare la vite che tiene ferma la lama. Con una chiave adatta, rimuovere la vite dal seghetto alternativo, mettendola da parte temporaneamente fino al momento del bisogno.
Passaggio 3: rimuovere la lama
Dopo aver rimosso la vite e il supporto della lama, far scorrere la lama fuori dalla parte inferiore del supporto. Maneggiare la lama con cura per evitare lesioni o incidenti.
Passaggi per installare il nuovoSega a traforoLama
Fase 1: controllare la direzione della lama
Prima di installare ilnuovo seghetto alternativolama, assicurati di seguire le istruzioni del produttore per una corretta installazione e prendi nota delle frecce sulla lama stessa che indicano la direzione in cui devono essere rivolti i denti.
Fase 2: Inserire la lama nel porta lama
Tenendo la nuova lama a un angolo di 90 gradi rispetto al seghetto alternativo, inseriscila nella parte inferiore del supporto finché non è completamente inserita.
Fase 3: Serrare la vite della lama
Una volta posizionata la lama, utilizzare la chiave per stringere la vite nel supporto della lama e fissarla in posizione.
Fase 4: controllare nuovamente la tensione della lama
Prima di utilizzare il seghetto alternativo, verificare che la lama sia correttamente tesa. Le istruzioni del produttore indicheranno la tensione corretta da utilizzare, ma la lama non deve essere né troppo tesa né troppo lenta.
Data di pubblicazione: 13-03-2024


